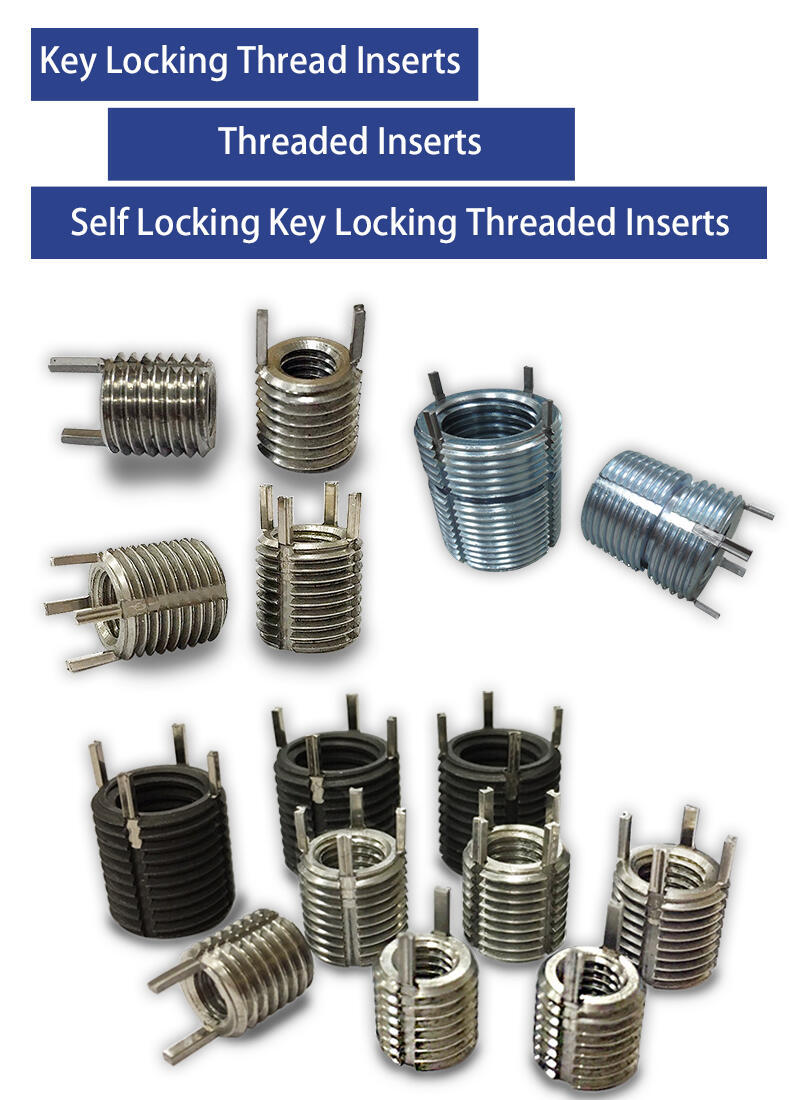
HOW TO USE KEY LOCKING THREADED INSERTS

How to install key locking threaed inserts
Step1. Drillwith a standard tap drill and countersinl with a standard 82°-100° countersink tool.
Step2. Tap new threads with a standard tap.
Step3.Screw in the insert until it is 0.25-0.70mm (0.010-0.030inch) below the suface, insert keys locate the key locking threaded insert at the correct depth.
Step4.Drive keys down with several hammer taps on the specified installation tool.
Step5.Correctly installed insert.
Here's how to remove key locking threaded insert tutorial
Step 1 : Drill put the material between the locking key and the internal thread to specified depth.
Step 2 : Deflect locking keys inward and break off.
Step 3 : Remove the insert from the hole by winding it out using a screw extractor or similar type tool.
Step 4 : A new key locking threaded insert of exactly the same size can be installed in the original hole.
How to remove key locking threaded insert

